Attract Solitary Mason Bees to Your Yard With a DIY Bee House
July 13, 2020
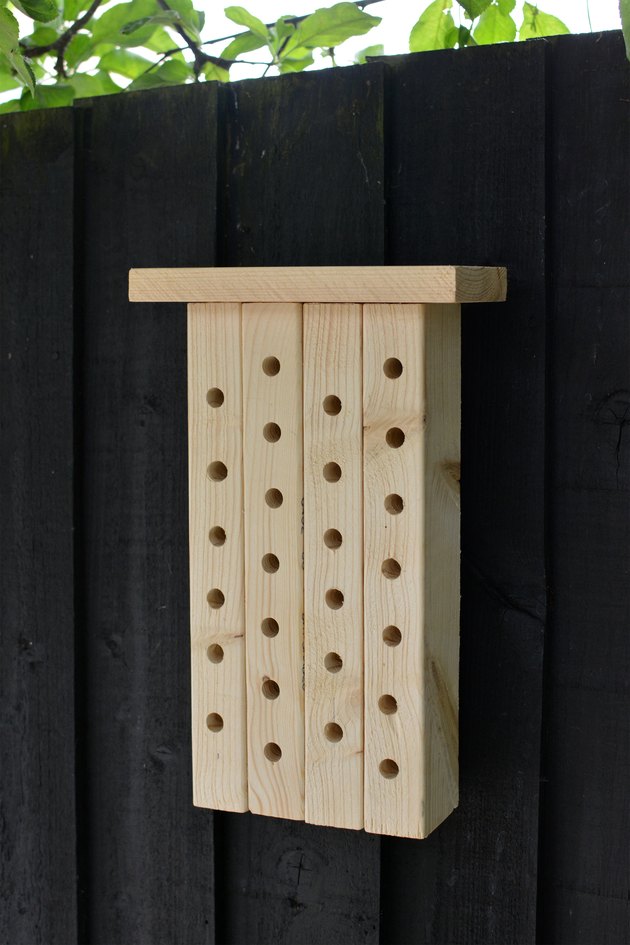
Image Credit: Caroline Burke for Hunker
Making a modern bee house is a sweet summer project and a great way to encourage more bees to pollinate your garden. This cute wooden house is designed to attract solitary mason bees who love to nest in pre-existing holes rather than hives. They're not an aggressive species as they're not guarding honey, so are a welcome addition to our neighborhoods.
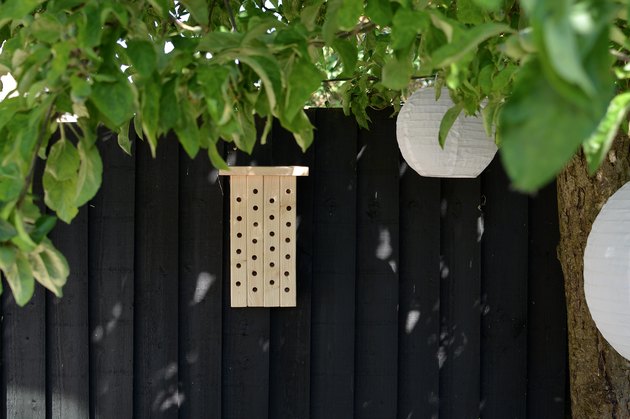
Image Credit: Caroline Burke
Before we start, it's worth noting that painting your bee house may make it look pretty but it could deter bees from using it as they won't like the scent. However, we think the charm of untreated wood has its own Scandi appeal and it's the perfect way to use up any scrap wood you may have laying around in your shed or garage.
THINGS YOU'LL NEED
-
2-inch-by-4-inch-by 8-foot lumber cut into 12-inch lengths for the house, (4)
-
1/1-inch-by-4-inch-by-8-inch length of lumber for the roof
-
Handsaw (or have your local hardware store cut the wood for you)
Step 1
Cut your untreated lumber into 4-by-12-inch pieces with a handsaw (or have your local hardware store cut to wood pieces to size for you.)
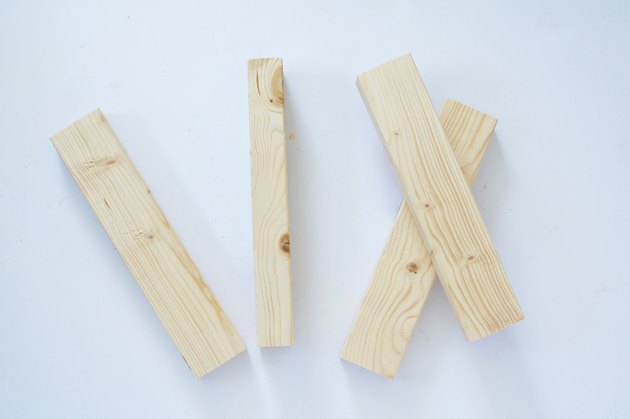
Image Credit: Caroline Burke
Step 2
Sandwich the four pieces of wood together with a layer of wood glue between each piece.
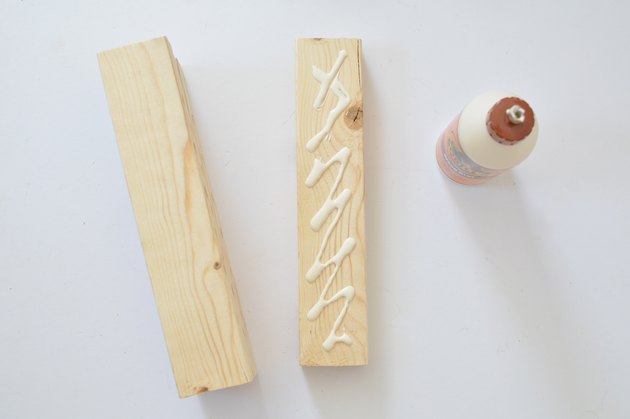
Image Credit: Caroline Burke
Step 3
Clamp them together for a few hours while the glue cures.
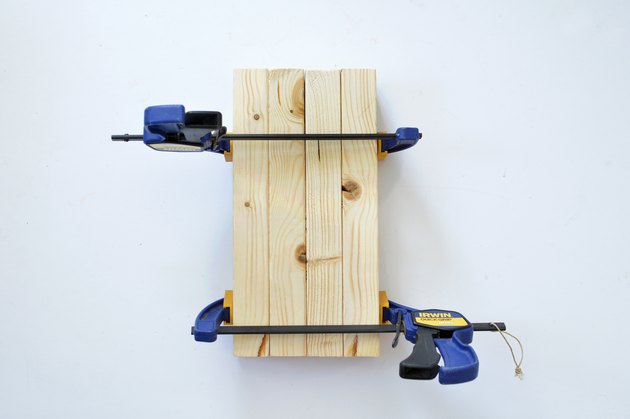
Image Credit: Caroline Burke
Step 4
On the first row, mark the first drill point 2 1/2 inches from the top in the center. Then make the following marks at 4 inches, 5 1/2 inches, 7 inches, 8 1/2 inches, and 10-inches. (We're drilling through the sides of the wood, not through the glue.)
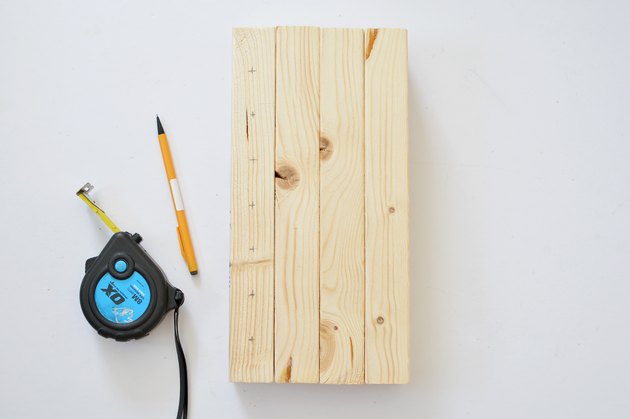
Image Credit: Caroline Burke
Step 5
On the second row, mark the first drill point 1 1/2 inches from the top in the center. Then make the next mark points at 3 inches, 4 1/2 -inches, 6 inches, 7 1/2 inches, 9 inches, and 10 1/2 inches.
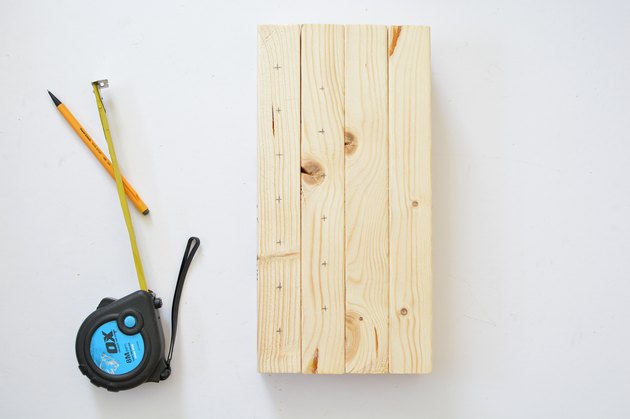
Image Credit: Caroline Burke
Step 6
Repeat the same drill measurements you made on the first row onto the third row.
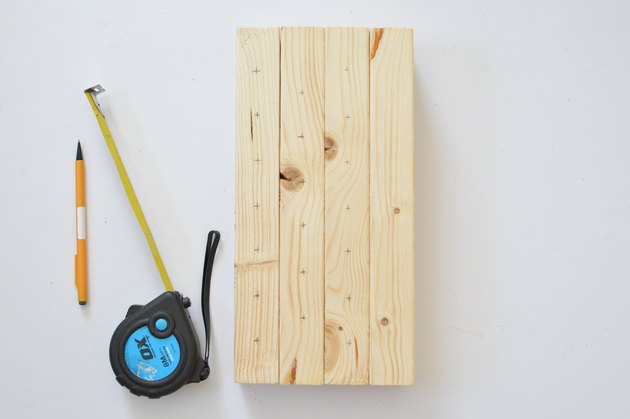
Image Credit: Caroline Burke
Step 7
Repeat the same measurements from the second row onto the fourth row.

Image Credit: Caroline Burke
Step 8
Drill the bee holes you've marked with a 3/4-inch spade bit. You don't need to drill through to the other side of the house — about 3/4 of the way through should suffice.
Periodically remove the drill bit as you drill to release the sawdust and stop it compacting in the hole.
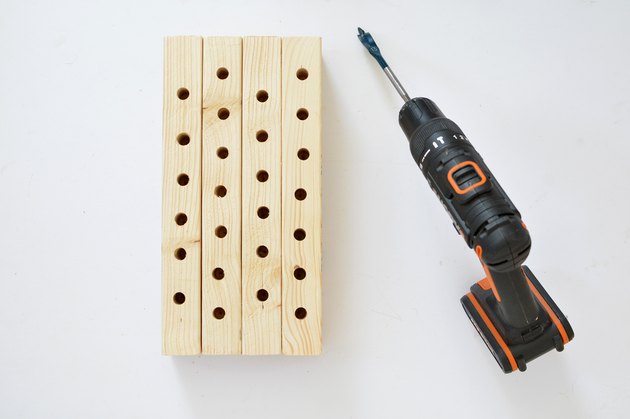
Image Credit: Caroline Burke
Step 9
To mount the roof apply wood glue all along the top of the bee house.

Image Credit: Caroline Burke
Step 10
Place the 4-inch-by-8-inch wood piece (the roof) onto the glue and clamp it in place while it dries.
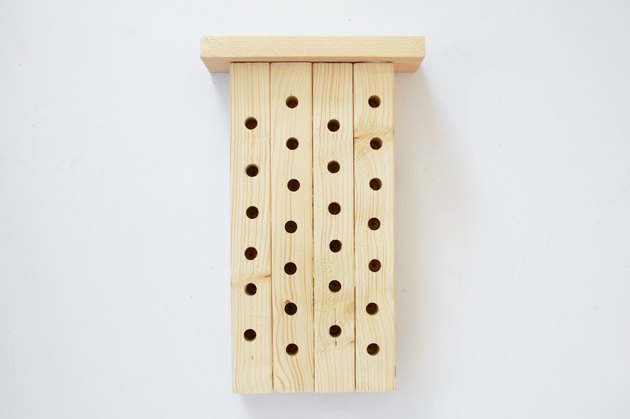
Image Credit: Caroline Burke
Hang in your garden for the bees to enjoy!
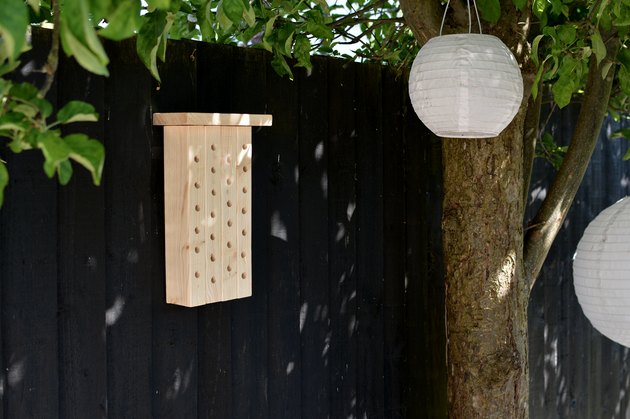
Image Credit: Caroline Burke
By CAROLINE BURKE JUNE 6, 2020
